
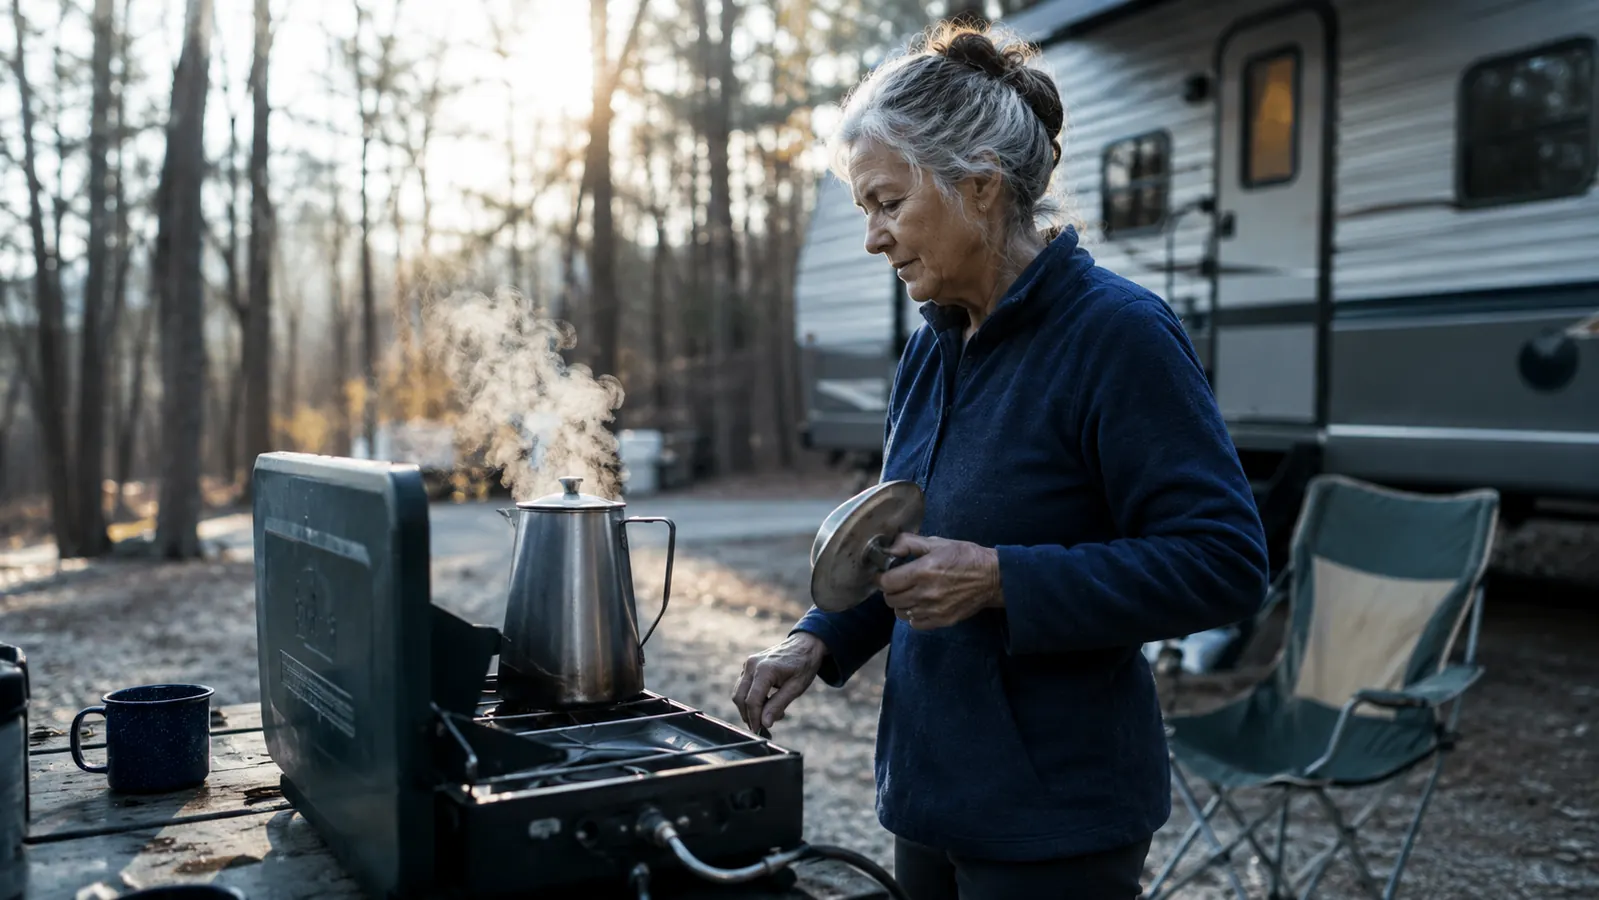
I ruined a lot of coffee before I got this right. My first few times using a percolator at camp, I brewed something that tasted like it had been strained through an ashtray, bitter enough that even Biscuit gave the puddle I dumped out a wide berth. I almost gave up on percolators entirely and went back to instant, which is its own kind of surrender for someone who spent 28 years driving a school bus and needed real coffee to do it. What turned it around wasn't a different pot. It was learning the handful of things that actually matter: the grind, the ratio, the assembly, the heat, and the clock.
The percolator I use now is the Farberware Classic Yosemite stainless steel, an 8-cup pot that has sat on my camp stove at nearly every site I've stayed at this year, from the Kentucky Lake Corps of Engineers loop to four different state parks. It's simple by design, which is exactly why it rewards doing these five steps in order instead of guessing. None of this requires special skill. It requires patience with the clock and a coarser grind than most people think to buy.
The pot that finally made camp coffee taste like coffee again.
This is the exact percolator I carry now, an 8-cup stainless Farberware that has never once let me down on the stove or over a fire ring.
Amazon Check Today's Price on Amazon →Step 1: Start with a coarse grind, not a fine one
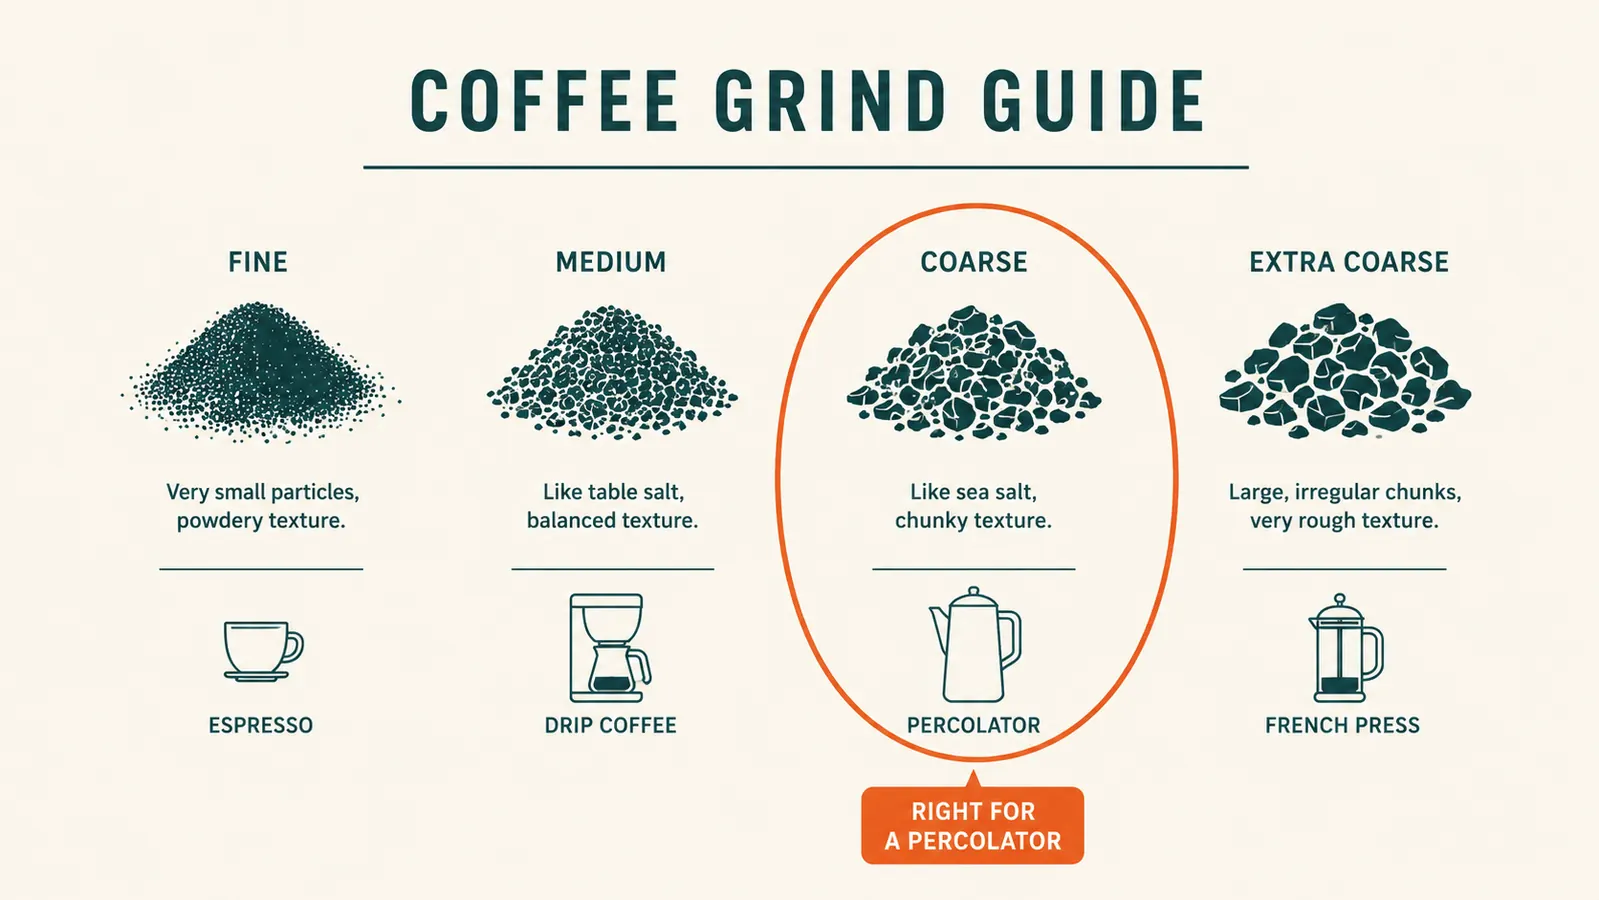
This is the mistake that ruins nine out of ten first attempts, mine included. A percolator works by cycling boiling water up through a stem, over the grounds sitting in the basket, and back down into the pot, over and over, for several minutes. Fine grind, the kind meant for a drip machine or an espresso basket, has far more surface area exposed to that water. Run boiling water over fine grounds for eight or ten minutes and you get over-extraction, which is the technical way of saying bitter, harsh coffee with a gritty sediment that sneaks past the basket lid and ends up in your cup.
What you want is a coarse grind, roughly the texture of coarse sea salt or rock salt, distinctly chunkier than what you'd buy pre-ground for a standard drip pot. If you're buying whole bean and grinding at home before the trip, most burr grinders have a dedicated "percolator" or "coarse" setting. If you're buying pre-ground at the store, look at the bag before you commit. Many stores now sell coffee labeled specifically for percolators or French presses, and that's the one you want. Standard "drip grind" bags are too fine and will bitter up fast no matter how carefully you time everything else.
One more thing about the grind that took me a while to connect: freshness matters almost as much as the size. Coffee that's been sitting pre-ground in a bag for months loses the oils that give it body, so at camp you end up compensating by brewing it longer, which is exactly what makes it bitter. I try to buy whole bean within a couple of weeks of the roast date printed on the bag, grind it myself the morning I leave, and keep it sealed in the trailer's small pantry rather than the truck cab where the heat cooks it. A fresher grind means I can pull the basket a minute earlier and still get good color and full flavor.
Step 2: Measure the ratio, cold water first
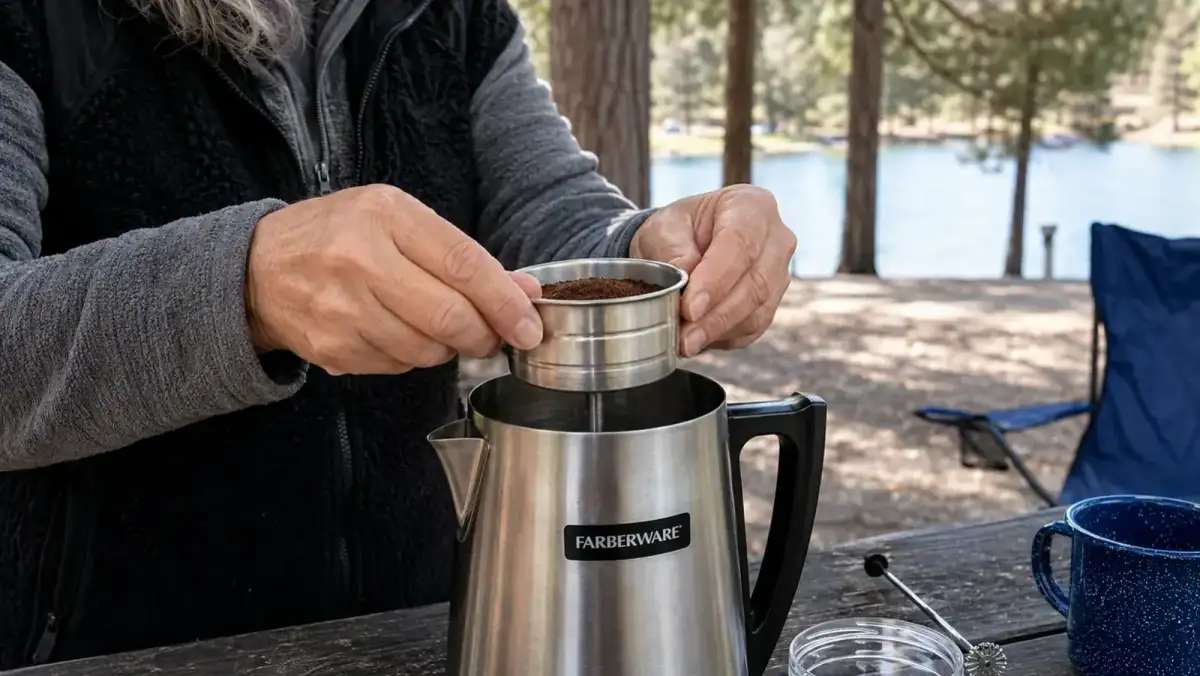
For the 8-cup Farberware, I use one rounded tablespoon of coarse grounds per cup of water for a regular strength brew, so eight tablespoons for a full pot. If I want it strong, the way I like it on cold mornings when I've got a full day of setting up camp ahead of me, I go up to ten or eleven tablespoons for the same eight cups of water. That's the whole range worth knowing. Anything much past that and you're just wasting coffee on an already-strong brew.
Fill the bottom chamber with cold water, measured to the internal fill line, not hot water from a kettle and not water you've already started heating. Starting cold matters because the percolator needs that gradual climb to a boil to work the way it's designed. Water that's already hot when you pour it in throws off the timing you're about to rely on in step four, and it makes the first perk cycle come on faster than the grounds are ready for.
If I'm only making coffee for myself some mornings rather than a full pot for company, I'll scale the whole recipe down to four cups of water and four tablespoons of grounds rather than trying to brew a half-empty pot at the full ratio. A percolator that's only a third full still perks, but the timing runs faster than a full pot, usually five to six minutes to a good color instead of seven or eight, so keep an eye on that glass knob rather than assuming the same clock applies.
Step 3: Assemble the basket and stem the right way
The stem goes in first, straight down into the little post at the bottom of the pot, standing upright on its own. The basket sits on top of the stem, and this is where I see people rush and get it wrong: the basket needs to seat flush against the stem's shoulder, not tilted, not floating half an inch above the bottom. If it's crooked, water channels around the grounds instead of through them, and you end up with weak coffee out of one side of the basket and undrenched grounds on the other.
Load your measured coffee into the basket and level it off with a light shake, no need to pack it down or tamp it. Set the lid on the basket, then lower the whole assembly onto the pot. Screw the percolator's top lid on last, with the glass knob facing up where you can watch it. That glass knob isn't decorative. It's your only window into what's happening inside, and you'll be watching it closely in step four.

Step 4: Manage the heat and watch the perk rhythm
On a camp stove, I start on medium-high just to bring the water to a boil, which usually takes six to eight minutes for a full pot depending on how cold the morning air is. Once you see the first hard perk through the glass knob, a strong burst of amber-colored water jumping up against the glass, drop the heat down to medium-low or low. You're not trying to keep it at a rolling boil for the whole brew. You're trying to hold it at a steady, gentle perk, one that bubbles the glass knob every second or two rather than a constant violent churn.
Over a campfire, this is harder to control because you can't dial down a flame the way you can turn a stove knob, so I pull the pot to the edge of the coals once it starts perking hard, using a cooler section of the fire ring instead of the direct flame. It takes a couple of tries at a given fire to learn where the pot needs to sit, but the goal is the same either way: a steady, moderate perk, not a boil.
Watch the color in that glass knob as you go. It starts out clear or pale straw-colored in the first minute of perking, and it should gradually darken to a rich amber, then a deep brown, over the next several minutes. That color change is your clock as much as any timer is, more useful to me most mornings than the little travel clock I keep on the picnic table, since a gusty morning at a lakeside site cools the pot faster than a still one does.
Step 5: Time it, pull the basket, and let it settle
Once you hit that steady perk, count seven to eight minutes for a regular strength brew, or nine to ten minutes if you went with the stronger ratio in step two. Somewhere in that window, the color in the glass knob will have gone from pale to a dark, rich brown, and that's your real signal, more reliable than the clock alone since altitude, wind, and how cold the morning is all change how fast a given pot climbs to that point.
When you're satisfied with the color, take the pot off the heat and lift out the basket and stem right away, using a folded towel or hot pad since both will be scalding. This is the step people skip most often, and it's the second-biggest reason for bitter coffee after using too fine a grind. Leaving the grounds sitting in the hot coffee even after you've pulled the pot off the flame keeps extracting bitterness the whole time it sits there. Pull the basket, set it aside, and the coffee left in the pot stops changing.
Let the pot sit undisturbed for a minute or two before you pour. Whatever fine sediment made it past the basket lid will settle to the bottom, and pouring slowly and stopping before you scrape the very bottom of the pot keeps most of that grit out of your mug. It's not going to be perfectly clear the way a paper filter would give you, and I've made peace with that. A little sediment in the bottom of the last cup is part of what a percolator is.
What Else Helps
If you already made a bitter pot before reading this, and I've been there more than once, you can partly recover it. A splash of cold water stirred into the finished coffee cools it slightly and mutes some of the harshness, and letting it sit an extra minute or two so the sediment settles before you pour helps too. It won't turn a badly over-extracted pot into a good one, but it takes the edge off enough to drink. Next time, back off the grind size and pull the basket a minute or two earlier, and it should sort itself out. I've also found the whole process goes faster and more evenly if I preheat the water on the stove for a minute or so before assembling the basket on cold mornings, though I still start with cold water in the chamber rather than water that's already near boiling. If you're weighing whether a percolator is even the right call for your setup versus a French press, I laid out how the two actually compare for camp use in my percolator versus French press piece, and if you want the longer view of how this particular pot has held up after a full year of daily trailer life, that's in my honest review, cons included.
The other habit worth building in is rinsing the basket, stem, and lid right after you pour, while the pot's still warm, rather than leaving it to sit through breakfast and cleanup. Coffee oils dry onto stainless steel and turn rancid if they sit, and a pot that's gone stale that way will taint the next brew no matter how carefully you follow every step above. A quick rinse and a wipe with a dish towel, then everything nests back together and rides in the same cabinet I keep the percolator in year-round. Dry it fully before you pack it away for the season too. Stainless doesn't rust the way an old-fashioned percolator might, but a damp basket left sealed in a cabinet for months will still pick up a musty smell that takes a wash or two to shake.
A percolator doesn't need a special skill. It needs a coarser grind than you think, and the patience to pull the basket the moment the color is right.
Get the pot right, and the coffee takes care of itself.
The same 8-cup Farberware I use at nearly every site, stove or fire, mid-week or not.
Amazon Check Today's Price on Amazon →