
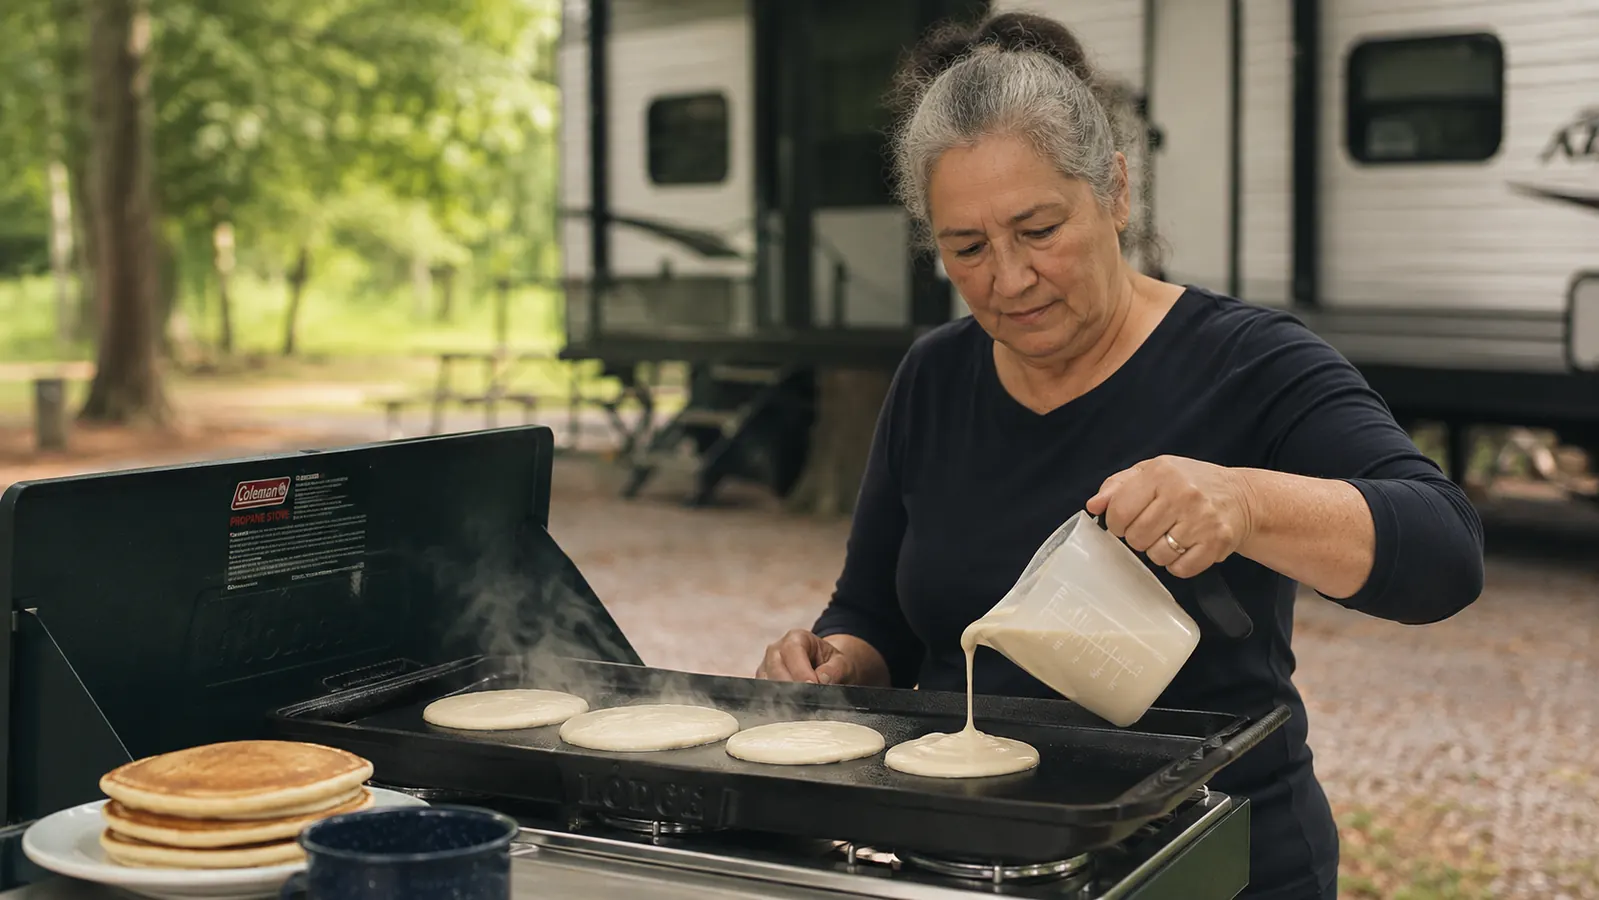
My Lodge reversible griddle came out of the box with 'pre-seasoned' stamped right on the underside, and that much is true. But that factory layer is thin, it was cured once in a warehouse oven somewhere and not by you, and it will not carry you through a whole camping season of bacon grease and campfire heat on its own. The first griddle I ever owned taught me that the hard way. I trusted the factory finish, skipped seasoning it myself, and by the second month eggs were sticking to it in patches like glue. This one hasn't done that once, because I treat the seasoning as my job, not the factory's, and I do it the same way every single time. These days I use it three or four times a week at minimum, sometimes daily on a long stay, and it still turns out eggs and pancakes that slide right off without a scrap of butter under them.
Start with a griddle that's actually worth seasoning right.
This is the reversible Lodge griddle I use at nearly every campsite, flat side for eggs and pancakes, ridged side for anything I want grill marks on. Everything below applies to this one exactly as written.
Amazon Check Today's Price on Amazon →Step 1: Wash off the factory finish, once, with soap
I know the old rule says never let soap touch cast iron. There's one exception, and this is it. The very first time you use a new griddle, or any time you're starting over from bare rusted metal, wash it with hot water and a small amount of dish soap and a stiff scrub pad. You are not stripping cast iron in general, you are stripping a thin factory coating that has no idea what your camp stove or your cooking habits look like, and you want your own seasoning built from scratch on clean metal instead of stacked on top of someone else's guess.
Scrub every surface, both the flat side and the ridged side since this one flips, rinse it clean, and take a good look at the bare metal in decent light. You want an even gray color with no shiny wet patches and no orange anywhere. If you see rust spots at this stage that's fine, that gets handled in step one as well, a rust spot on bare metal before you've built any seasoning is the easiest kind to fix. Scrub it out with steel wool until the metal underneath looks the same gray as the rest of the pan. This first inspection is also the right moment to check the rim and the underside for pitting or unevenness, since a flaw like that is far easier to spot and fix on bare metal than once several coats of hardened oil are sitting over top of it.
Step 2: Dry it completely, because water is the enemy here
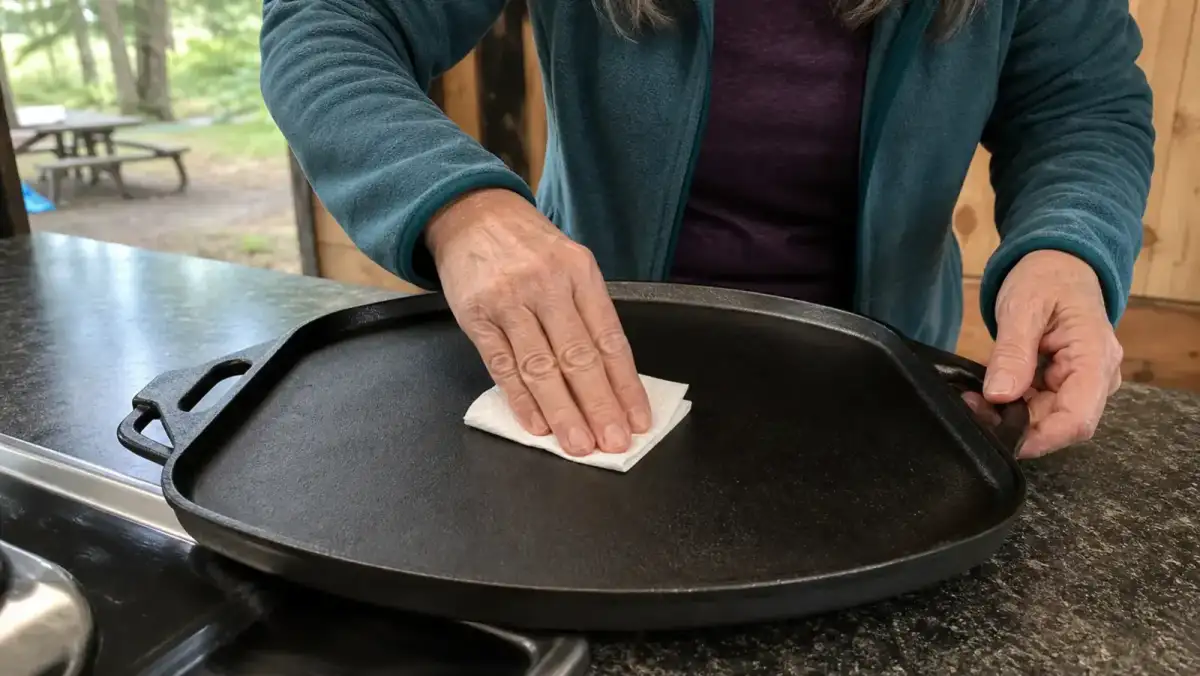
This is the step people skip and it's the one that matters most. Towel dry it right after washing, then set it on a burner over low heat for about five minutes. You are not cooking anything, you're flashing off the water that's hiding in the pores of the iron that a towel can't reach. Cast iron is not smooth at a microscopic level, it's full of tiny pits, and any water left sitting in those pits is exactly what starts a rust spot before your oil ever gets a chance to bond. I've heard a hair dryer works in a pinch if a stove isn't handy, and it does, but it takes longer than five minutes on a burner, so I don't bother with it.
I learned to treat this step as non-negotiable after leaving a griddle to air dry on the trailer counter overnight at a humid site on Kentucky Lake. By morning it had a faint orange haze across the ridged side, nothing dramatic, but proof that air alone isn't enough. Now the griddle goes straight from the sink to a warm burner every time, no exceptions, whether I'm home or parked at a Corps of Engineers campground with nothing but a two burner propane stove to work with.
Step 3: Pick an oil that actually polymerizes, and use almost none of it
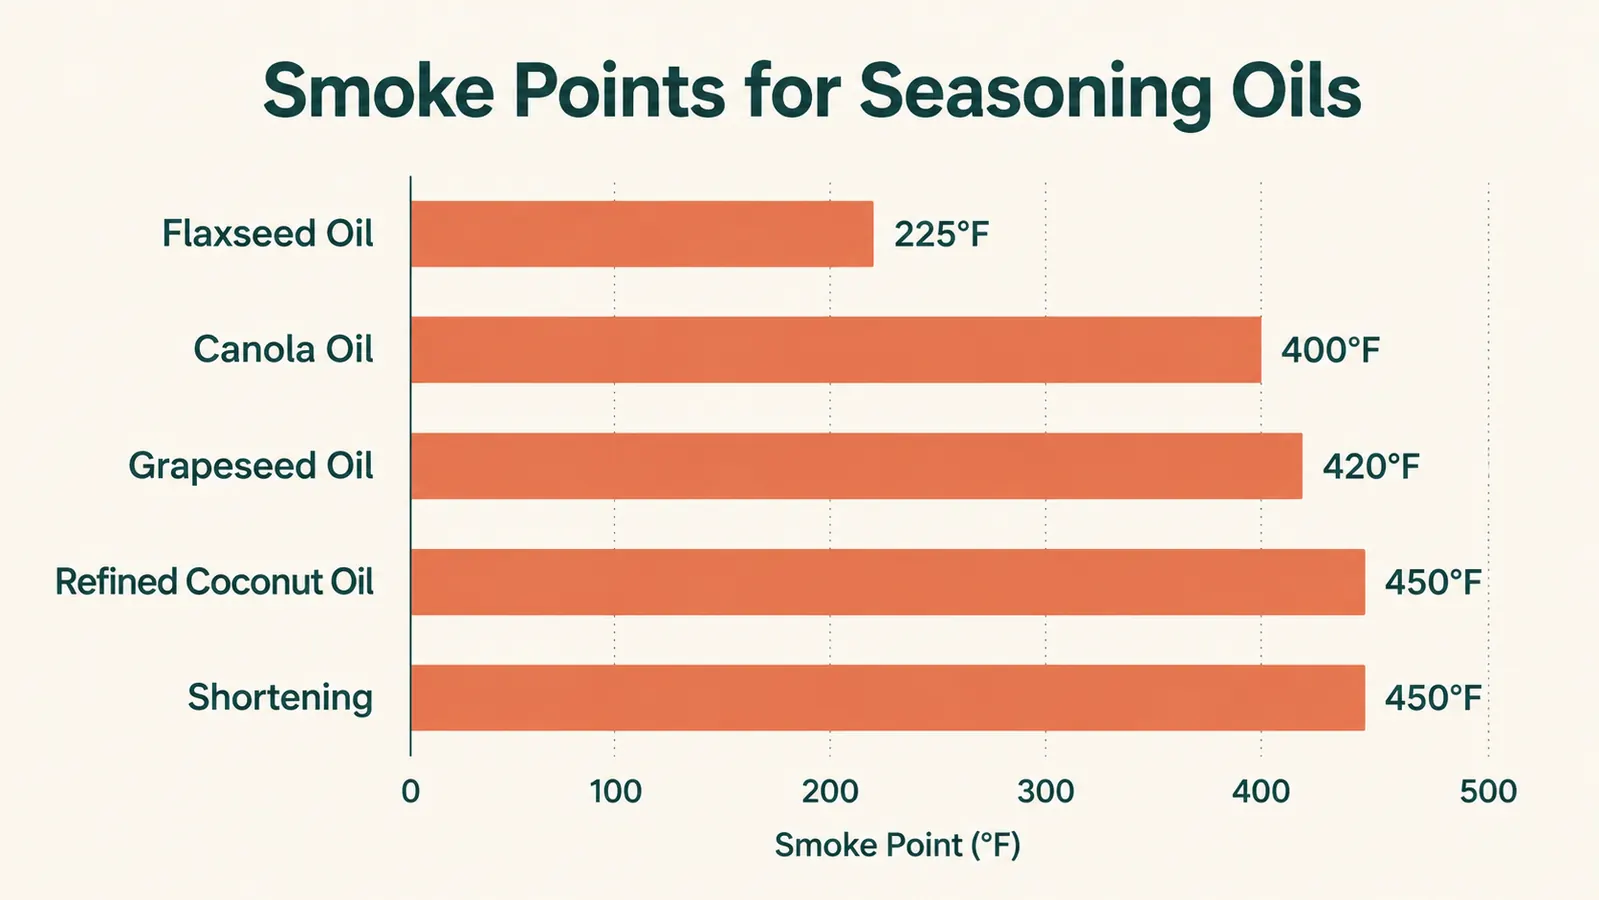
Seasoning isn't a layer of grease sitting on top of the pan, it's oil that's been heated past its smoke point until it chemically changes into a hard, plastic-like coating bonded to the metal. That process is called polymerization, and not every oil does it well. Flaxseed oil polymerizes into the hardest, most durable coat of anything commonly used, but it has a low smoke point around 225 degrees Fahrenheit and can flake if you build it up too thick. For a griddle that's going to live in a camp kitchen, I've had better luck with something more forgiving. Grapeseed oil smokes around 420 degrees, refined coconut oil and plain vegetable or canola oil both run 400 to 450 degrees, and any of the three cures into a solid, everyday seasoning without the fuss flaxseed demands.
Whichever oil you land on, here is the rule that matters more than the brand on the bottle. Pour a small amount onto a paper towel or a rag, rub it over every surface of the pan, and then take a clean paper towel and wipe almost all of it back off, like you're correcting a mistake you just made. What's left should barely register as a sheen on the metal. This is where nearly everyone goes wrong the first time they season a pan, mine included the very first go. Too much oil is the single most common mistake, and it doesn't give you a better seasoning, it gives you a sticky, blotchy mess. A thick coat can't fully polymerize all the way through, so the surface layer stays half-cured and tacky, and it often cures unevenly, leaving patches that look darker or shinier than the rest instead of one smooth, even black. Plan on your kitchen or campsite smelling a little smoky while each round cures, that's normal and it's actually a good sign, it means the oil is polymerizing rather than just sitting there wet. Crack a window if you're doing this in the trailer, or better yet, do the whole process outside on the camp stove, since a hot pan curing oil puts off more smoke than most people expect the first time through.
Step 4: Bake it in, one thin round at a time
At home, this happens in the oven. Set it to 450 to 500 degrees Fahrenheit, put the griddle in upside down so any excess oil drips away instead of pooling, and slide a sheet of foil or an old baking sheet on the rack below to catch drips. Bake it for one hour, then turn the oven off and let the griddle cool inside with the door shut rather than pulling it out hot. That slow cool matters almost as much as the heat itself for how the coating sets.
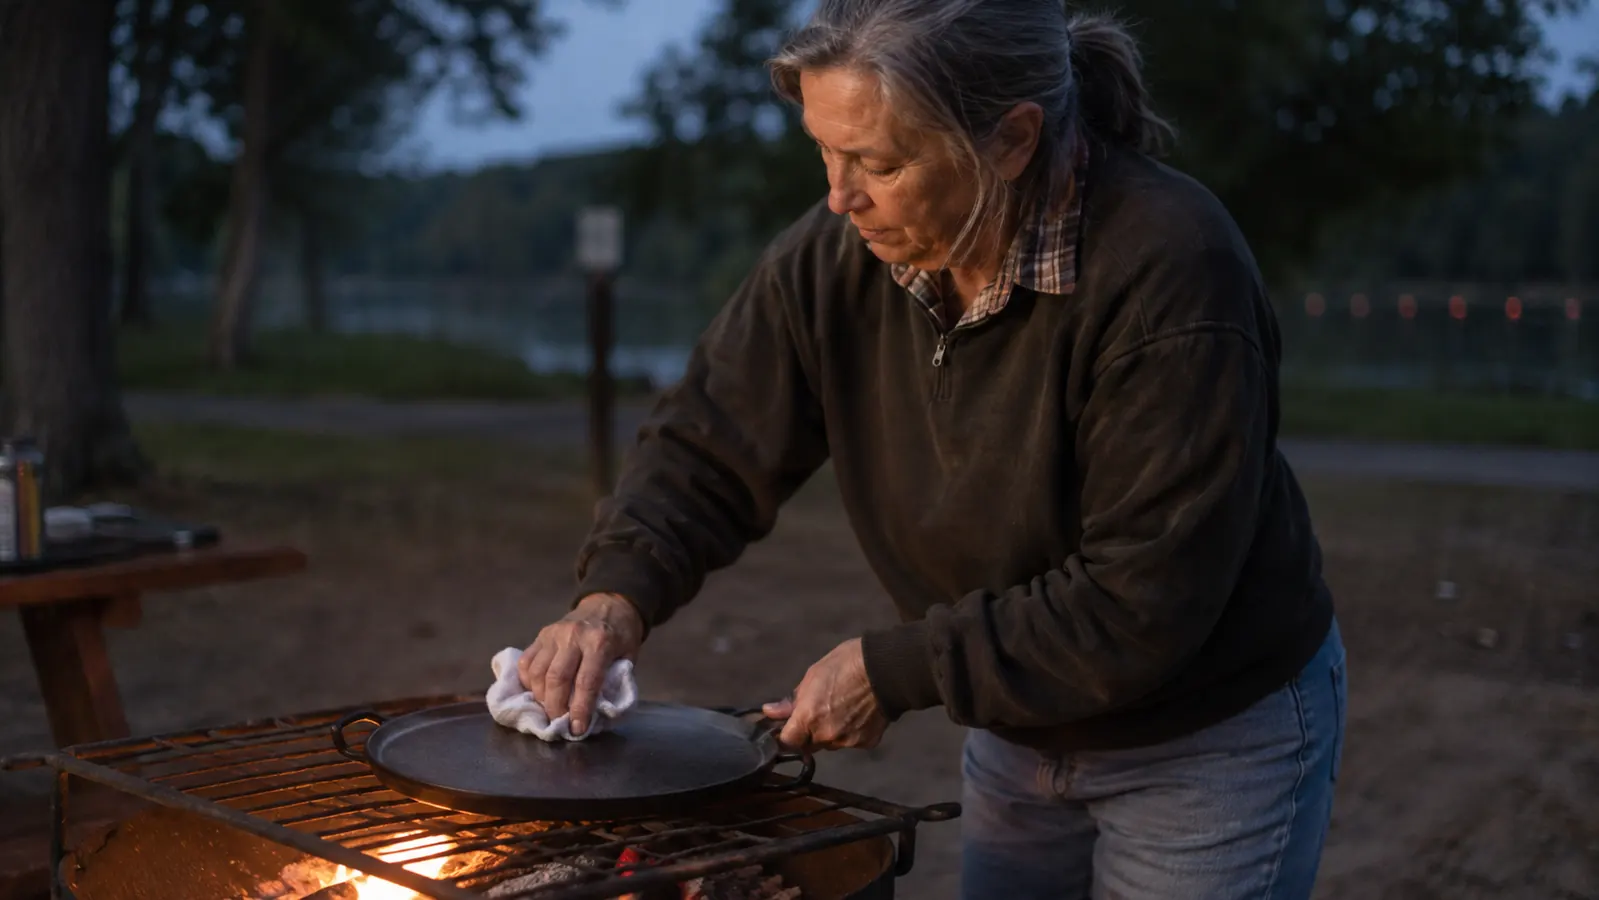
Repeat that whole cycle, thin oil, wipe most of it off, one hour at 450 to 500, cool in the oven, for a total of four to six rounds on a brand new or freshly stripped griddle. I know that sounds like a lot of ovens for one griddle, but each round is building a separate hardened layer on top of the last one, and it's those stacked thin layers that give you real durability rather than one thick coat that never fully cures. At camp, you don't have an oven, so the method shifts. A covered grill with the lid down holds heat close enough to 450 degrees to work the same way, or you can do it directly over a camp stove burner on medium-high, wiping on your thin coat, heating until it stops smoking and the sheen turns matte and dark, then letting it cool and repeating. It takes longer to watch over a burner than to walk away from an oven, but the chemistry is identical. If you're working off a single burner and worried about even heat, rotate the griddle a quarter turn every ten to fifteen minutes during each round, since one burner rarely heats a pan this size evenly from edge to edge.
Step 5: Know what good seasoning actually looks and feels like
A properly seasoned griddle is a deep, even black or dark brown with no patchy shine, no dull gray spots, and no tacky feel when you run a dry hand across it. It should feel almost slick, closer to worn stone than to plastic. If a spot feels sticky under your palm, that section got too much oil and didn't finish curing, and running one more thin, careful round over that exact spot usually fixes it. If you're trying to decide whether a specific griddle is worth this much attention in the first place, I put a Lodge up against a popular camp stove system griddle in a side-by-side comparison, and the seasoning question was a big part of how that one turned out. Color alone can fool you a little at first. A griddle can look solid black and still feel slightly rough or faintly dry under a bare hand, and that usually means it's ready for one or two more thin rounds before you call the job finished.
Rust at a campsite is a smaller job than people expect, and you don't need a kitchen to fix it. If you spot a rough orange patch, work it with steel wool, a stiff scrub pad, or even a folded piece of aluminum foil and a little water until the rust is gone and the bare gray metal shows through. Dry it completely on the stove burner the way I described in step two, wipe on the thinnest coat of whatever cooking oil you have on hand, whether that's the olive oil in your cooler or bacon grease from the pan you're fixing, and heat it on the burner until it stops smoking. One round won't be as tough as a proper oven-baked layer, but it will hold you through the rest of the trip, and you can do the full multi-round treatment once you're back near an oven. A patch this small rarely means the pan is ruined. In all my years running this griddle hard at damp lakeside sites, I've never once had rust get ahead of a scrub pad and fifteen minutes of my attention.
What Else Helps
The seasoning you build in those first rounds only lasts if you treat the griddle right after every single meal, not just at the start of the season. Never let it soak in the sink and never leave it wet. As soon as it's cool enough to touch, rinse it with hot water only, scrape off stuck bits with a spatula or a chainmail scrubber, and if there's something really stubborn, a little coarse salt scrubbed around with a paper towel works without soap or steel wool. Dry it on the burner for a minute or two the same way you did during seasoning, then, while it's still slightly warm, wipe on the thinnest film of oil you can manage and let it cool before you pack it away. That's the whole after-every-use routine, and it takes about three minutes once it's a habit. I wrote up the fuller story of how this exact griddle has held up over a full season of daily use, including the parts I'd change, in my honest long-term review, if you want the complete picture before you commit to one. I keep a small dedicated bottle of oil and a stack of paper towels in the same tote as the griddle itself, so the whole after-use routine never depends on me remembering to pack anything extra.
Seasoning isn't something a griddle comes with, it's something you keep doing to it, three minutes at a time, for as long as you own it.
Give it the seasoning routine it deserves and it'll outlast every other pan in the trailer.
Same griddle I've carried through pines, oak, and one stubborn cedar of a campsite, reversible for eggs on one side and grill marks on the other.
Amazon Check Today's Price on Amazon →